Original Prints

Each print is made by hand - inked and pulled by the artist or under their supervision.  These are not reproductions, photographs or reproduced photographically. Many of these prints are created using the same techniques and types of materials used in the 1500's to 1700's - with a few concessions to safety, and yes - convenience, original prints today are remarkably similar to those done in the days of Dürer and then Rembrandt. 

Intaglio

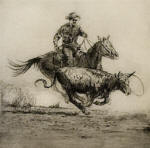
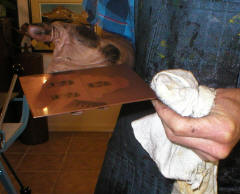
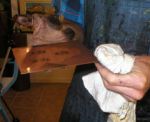
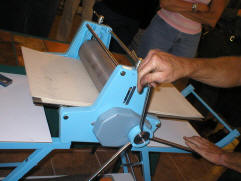
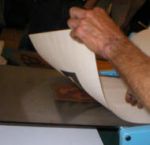
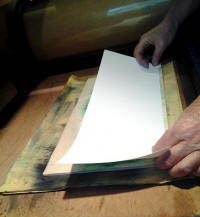
An intaglio print is created by etching or engraving an image into a plate - traditionally copper or zinc.  Ink is rubbed over the indentations in the plate and then wiped off the surface.  A damp sheet of paper is placed over the inked plate and passed through an etching press.  The pressure of the press pushes the damp paper into the plate and transfers the ink to the paper.  With copper and zinc, each time a print is pulled the pressure will flatten the plate a bit.  If an artist uses a steel plate, it's less susceptable to the pressure and will last to make a larger edition.  Frequently, artists will steel face their softer plates to increase longevity.

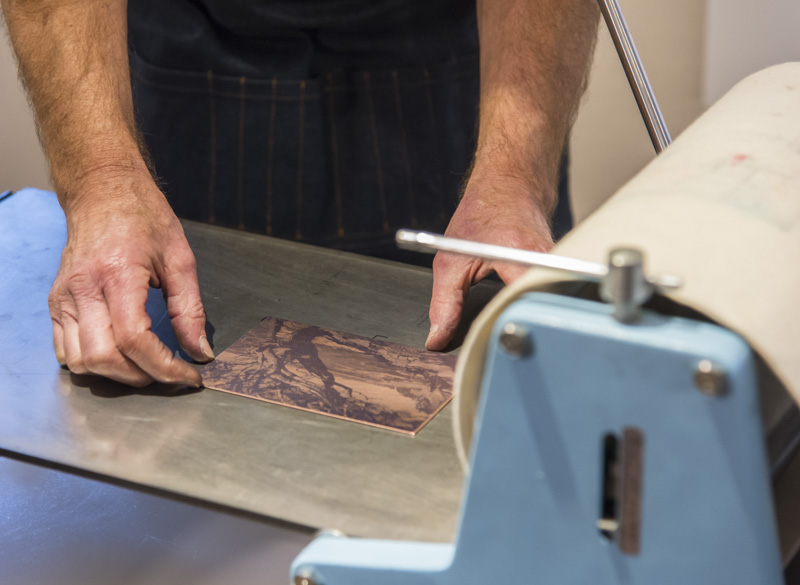
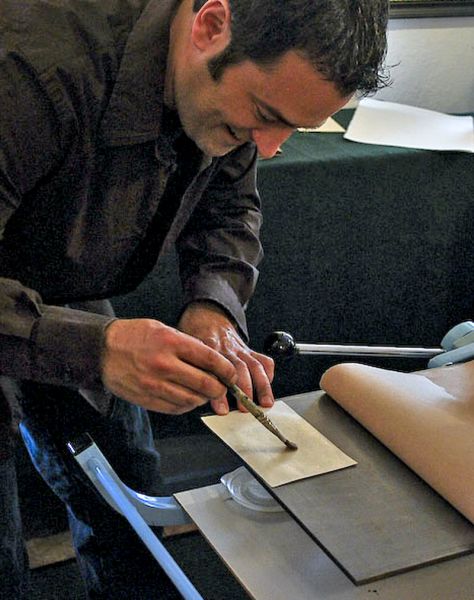
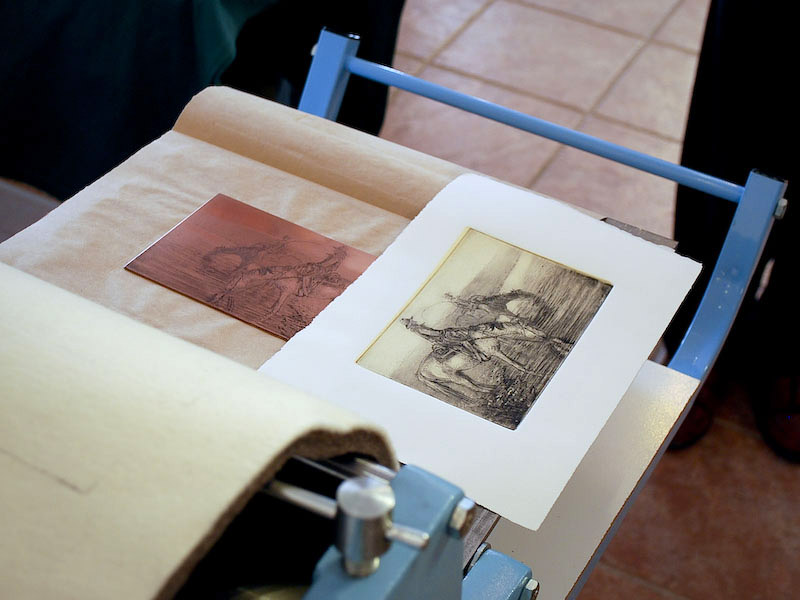
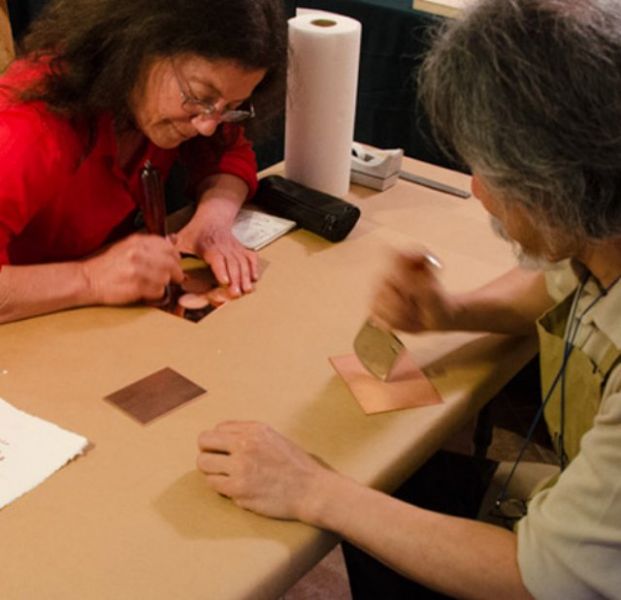
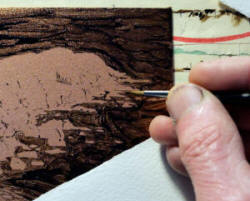
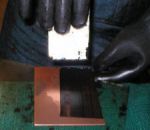
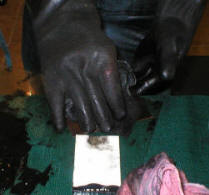
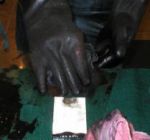
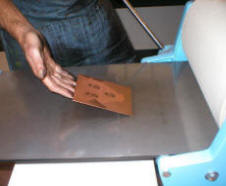
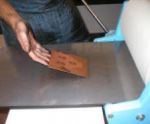
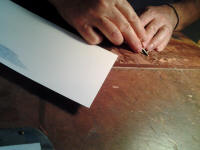
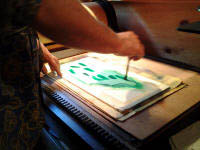
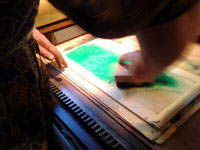
Stephen McMillan placing an inked plate on the bed of our etching press during a demonstration at Mission Gallery.

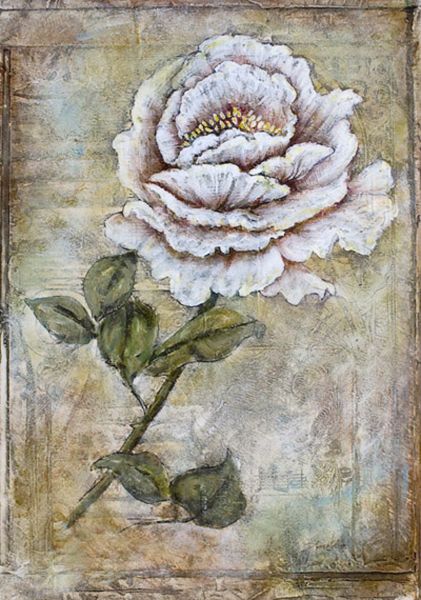
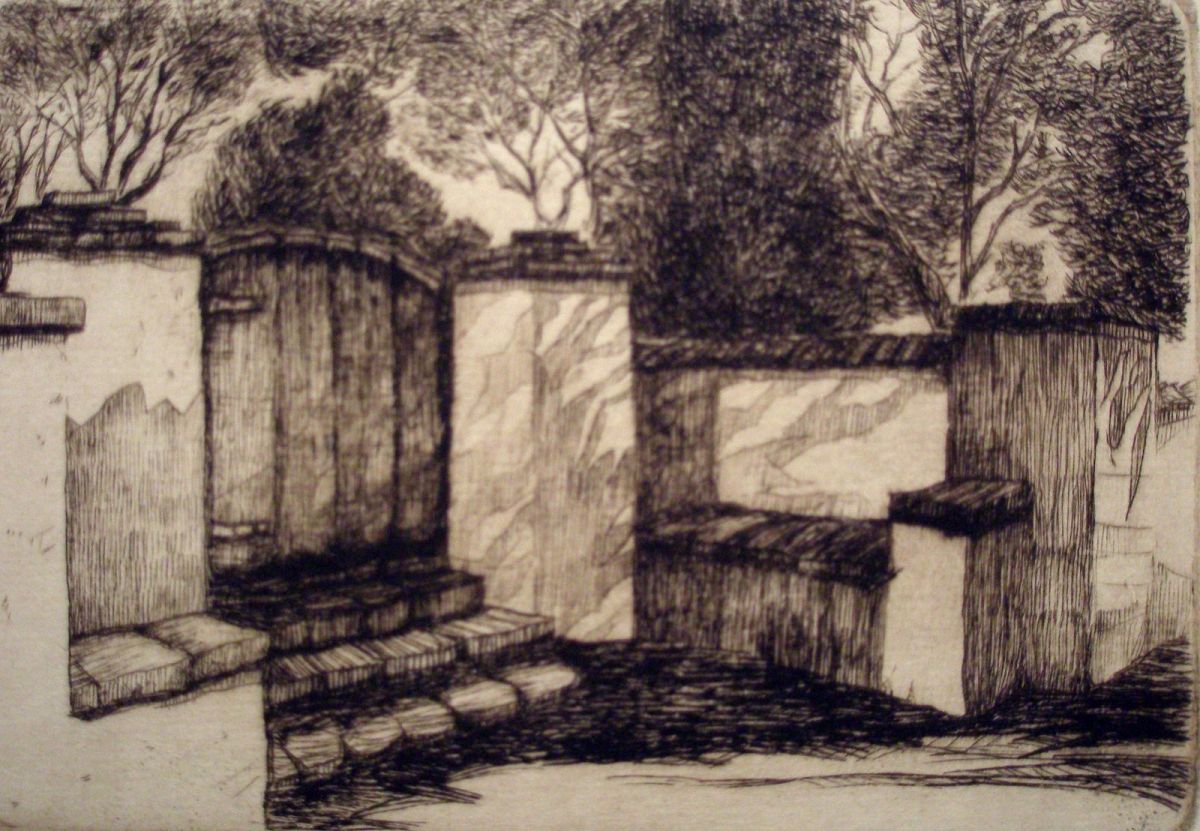
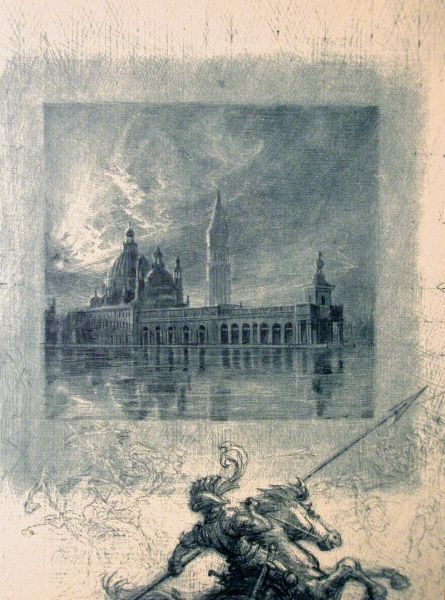
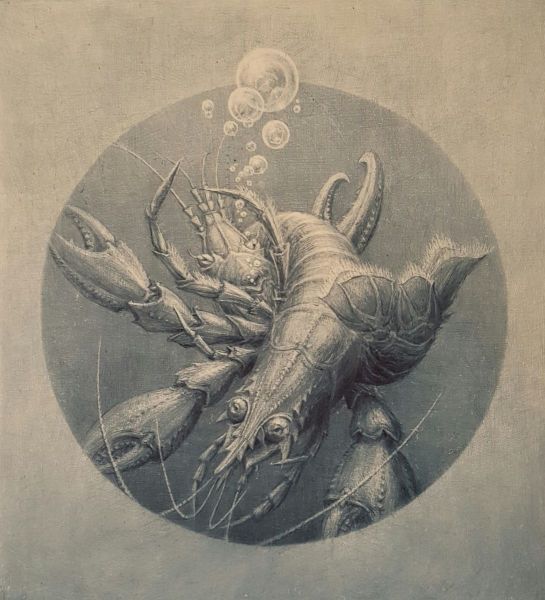
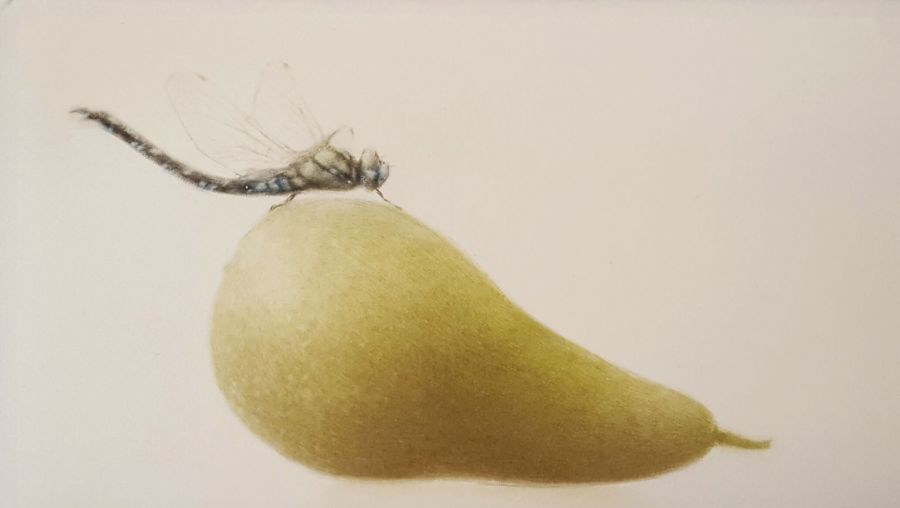
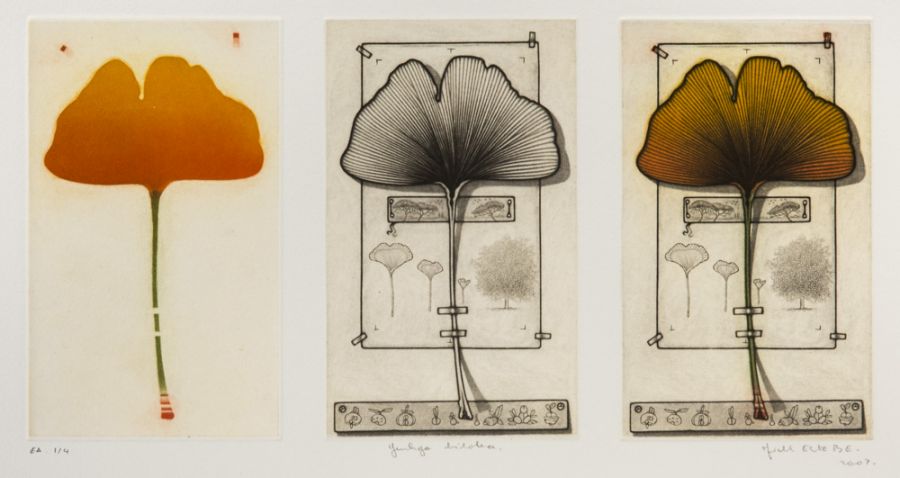
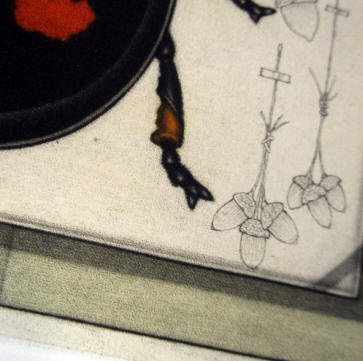
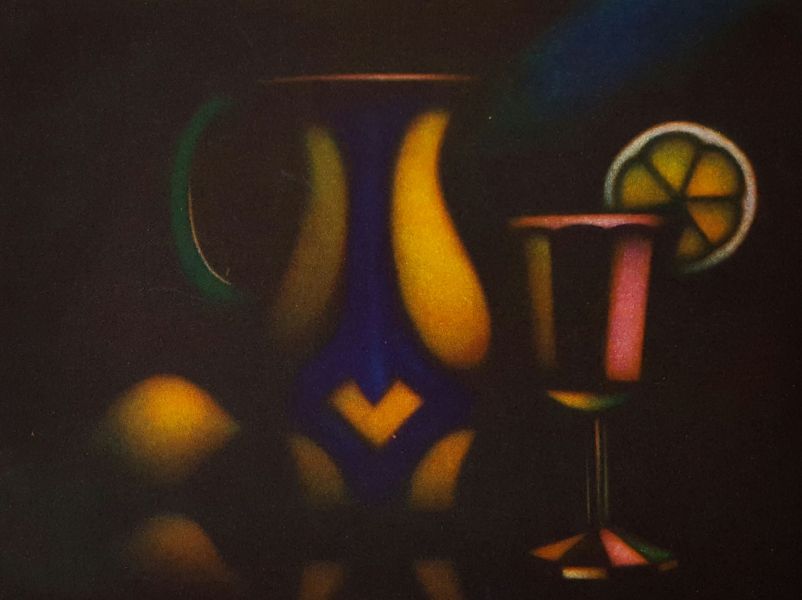
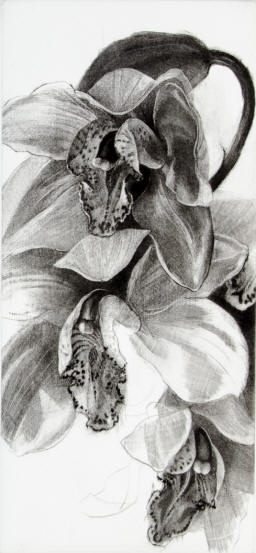
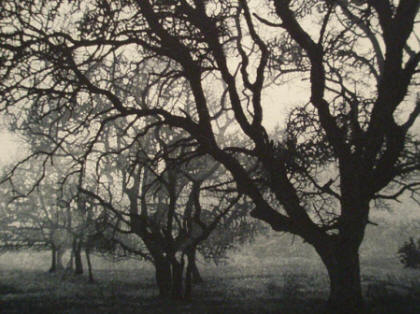
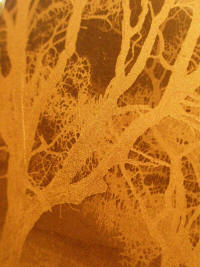
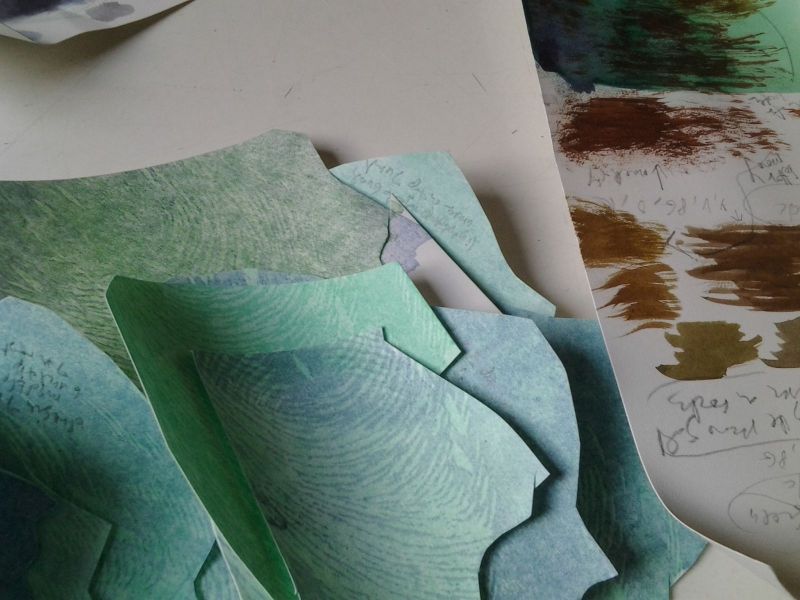
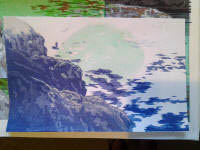
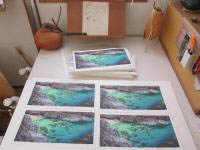
"Morning Glory" a mixed media intaglio print by Arnold Iger
Mixed media can mean many things: a combination of etching and engraving, collage, painting - so many possibilities! Arnold Iger uses architectual elements, textured paint, marbled papers and various other media to create these intaglio prints.

Etchings

These images are created by rolling melted wax or varnishing over the face of a polished copper plate and scratching through the protective covering.  The plate is then dipped in acid, creating a groove wherever the plate has been exposed.  This part of the process may be repeated several times to achieve varying tones of the same color.  The longer the plate is in the acid bath-the deeper the groove and the darker the color on the finished piece. An artist may color line etchings with watercolors or create several plates to print different colors on the same page.

The critters horns ain't for honkin!"
chiné collé
etching by Bob Coronato 

and the copper plate he printed it from.

Chiné collé

Chiné collé refers to a printing technique in which the artist prints their image on a thin piece of tissue or hand made paper.  After the thin paper is coated with paste on one side, it is positioned on the inked plate paste side up.  The dampened base paper - usually a heavier watercolor paper - is placed over the plate and tissue, then all are pulled through the press.  The rice paper provides a much "harder" surface to print on, so it's a great way to show off fine details in the image.  Bob Coronato and Justin Ward both use a  creamy colored  tissue that gives their work a very old fashioned look.

Bob Coronato applies paste to a thin piece of tissue before carefully positioning it on his inked plate  - paste side up! before covering it with "regular" paper and pulling his print

chine colle etching by Bob Coronato and the plate he printed it from

'Rozas House"  a chiné colléetching by Justin Ward

Engravings

Jean Michel Mathieux-Marie uses a diamond point to engrave images into a steel plate
Many of his engravings are also printed using the chiné collé technique

While engravings are printed the same way etchings are, they are made by using tools instead of acid to create the image.  Many artists use copper because it is a relatively soft metal -  therefore much easier to work with.  Unfortunately, this also means the plate will not last as long due to the extreme pressure involved in printing.  If an artist would like to print a larger edition, they may steel face their copper plates or work directly on a steel plate.  Steel facing can also preserve the integrity of the colors an artist is printing with - for example, yellows may become "muddy" as the copper plate oxidizes.  

Mathieux Marie dry point engraving

Mezzotint

Mezzotint is an engraving technique that originated in the 17th Century and is the oldest way to achieve tones in printmaking.  The artist works directly on a copper plate – beginning with a tool called a “rocker” which he uses to create pits in the plate.  This is done by rocking the tool back and forth with consistent pressure until the whole surface is evenly pitted.  If the plate were inked and a print pulled at this point the image would come through as a solid, velvety black.  The artist then uses burnishing tools to smooth out the pits wherever he wants light in the images.  The burnished areas will hold less ink than the deeply pitted areas.  Once the plate is prepared, the plate is inked, excess ink is wiped away and it is pulled through a press with damp paper to create the finished print.

mezzotint rocker, burnishing tools and a partially rocked copper plate

Judith Rothchild and Mikio Watanabe "rocking" copper plates during MEZZOTINT 2013 at Mission Gallery
both artists demonstrated very different approaches to preparing their plates

Estebe Ginkgo set three

this is a detail of a mezzotint by Michel Estebe - with dry-point engraving, as well.  The fine line work is done by scratching into the plate instead of burnishing a rough surface. He is using multiple plates to print the colors in the image.

"Julian Creek" a single plate mezzotint by Peter Jogo
a three plate mezzotint by Laurent Schkolnyk
by MIKIO WATANABE
by MIKIO WATANABE

his mezzotint "Orchidee" by Judith Rothchild has been created by using a little different technique - drawing the image with the mezzotint rocker

Aquatint Etchings
Drawing and Printing Process for Aquatint Etchings

 Aquatint is an etching technique that produces a full tonal range and rich texture in prints. To create an aquatint three things are needed: a shiny copper plate, rosin dust, and acid. Quite simply, the rosin dust is dropped and melted onto the copper plate creating a matrix of small dots, and the plate is submerged in a tray of acid to be etched. The rosin on the plate is acid resistant, so only the metal that is not covered with rosin will be etched. The metal that is exposed will etch into microscopic canyons in the copper plate, which when inked will hold different amounts of ink, depending on the depth of the etch. The deeper the etch, the more ink will be held, and the darker the tone produced when printed. 

To etch an image into the plate an acid resistant stop-out material is painted onto the plate between each etch to control where and how long the acid etches each area of the plate--the amount of rosin used, the amount of heat applied, and the etch times must all work together. The mastery of these techniques is as vital to creating the print as is the drawing of the image onto the plate.The artist begins by choosing an image from one of the slides he has taken and making it into a 3"x 5" print. He refers to this photograph as he draws the image onto an aquatinted copper plate. He uses a high quality watercolor brush to paint the stop-out material onto the plate. The areas on the plate that correspond to the lightest areas on the photograph are painted out first, often before the first etch. Next the areas that correspond to a slightly darker tone on the photograph are painted out, and another etch is done. This process is repeated, usually seven or eight times, until a full tonal range is created. 

It often takes several weeks to produce a plate.For multiple color prints a separate plate must be drawn for each color used. The artist does color separations in his head to determine how much of each color to use in each area of the print. The two to four basic colors are blended in the printing to create all the desired colors on the finished print. The corresponding areas of each of the plates must be drawn so that they will register or match up when they are printed. After the first plate is drawn, a technically involved image-transfer method is employed to leave a ''ghost'' of the first plate on subsequent plates to be etched. This ''ghost'' image is used as a guide to help the artist draw the subsequent plates in register with the first plate. Often stencils also need to be cut to transfer image information not in the ''ghost'' transfer image.After the plates are etched they are ready to be printed. 

Etchings are printed intaglio, that is, with the ink in the etched areas rather than on the surface. Each copper plate is inked and wiped by hand before being printed on 100% rag paper on an etching press. To create the finished print, the plates are printed in the same order and alignment as used for the image transfer.

This is Petaluma Oaks - an aquatint etching by Stephen McMillan that's been sold out for quite a while. All of his tree etchings are so beautifully drawn - there are others shown on his page.

...and here is a detail of the etched plate that the print was made from.  We have some of Steve's cancelled plates in the gallery from time to time - lovely art pieces in their own right!

Stephen McMillan demonstrates printing an intaglio print:

Shown inking the plate, then wiping with cheesecloth and removing excess ink by hand-wiping.  Cleaning edges of the plate, carefully positioning the inked plate on the bed of the etching press - the next step (not shown) is placing a sheet of dampened paper on top of the inked plate. Then Steve "pulls" the print on the etching press  - and there you have "Mission Bells" - a single plate aquatint etching by Stephen McMillan!

Woodblock Prints

Unlike intaglio prints, wood block prints and also linoleum block prints are printed from the raised surface of a block - like printing with a rubber stamp. Some of these works can be incredibly complex: the example below shows the 9 carved blocks and 16 printing steps that went into making China Cove, Morning Light by Micah Schwaberow 

The carved blocks may each be used several times, sometimes after more carving but frequently because printing more than two colors on a block - especially blocks of this size - can be difficult to control. The pigments soak into the wood quickly and will start to dry.

Micah prints the blocks by daubing pigment on the raised surfaces, then scrubbing it into the wood with a small, stiff brush.  A sheet of paper is carefully dropped into the registration notches on the block and the print-in this case - is pulled through a letterpress to transfer the color... 

pencil sketch of Point Lobos

Micah is printing with waterolors, so each layer affects everything that has gone before it. The proofing process, while incredibly important and time-consuming, never shows how the finished work will look.  Throughout the printing process, he may add more colors, do more carving, change pressure to lighten or intensify colors, and sometimes carve entirely new blocks to add.  The printing is done on damp paper, so all of these decisions and alterations must be done before the paper dries.  In this case, the paper is wrapped carefully and refrigerated between steps.  If the paper dries, it will make registration impossible and if it stays damp too long, mildew will ruin the whole edition!

 Carving and proofing...

blocks and brushes ready for printing,
colors mixed and everything carefully labeled

daubing the color onto the carved block

scrubbing the color into the block

dropping the paper into the registration notches

drying in stacks after the printing is finished